How To Scan a Coin So That the AI App Recognizes It
The goal of coin values checker is to take pictures of coins, ensuring the maximum possible accuracy for programs using computer vision and deep learning to find and grade the coins, this quality being very important because these computer programs depend on good input to work correctly.
The picture must let the computer program see the shape, the surface feel, and the colors well, meaning any problems like bad shapes, wrong light, or dots on the picture will make the matching process slower and cause the grade check to be wrong.
Action Area | Do | Avoid |
Coin Preparation | Use gloves, only clean with air bulb | Using water, cleaning materials, or touching with fingers |
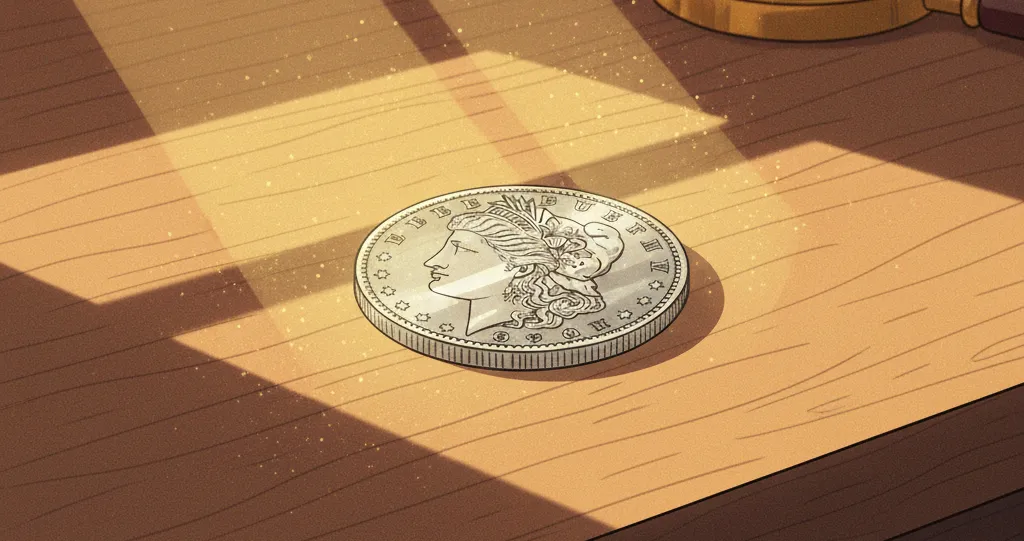
Background | Use a dull, plain background — black or white | Using backgrounds with lines, patterns, or shininess |
Camera Settings | Use the highest resolution and lowest ISO | Using digital zoom or automatic focus/exposure |
Lighting | Use two soft lights, with CPL filter | Using one straight light source or having bright white glare spots |
Angle & Focus | The camera must be perfectly straight and use manual focus | Taking the picture at an angle, making the coin look bent or blurry |
Final File | Save both sides, taking up 80% of the picture space | Saving small pictures or losing detail |
Getting the Coin Ready
You must prepare the coin itself and the place where you take the picture before starting the photography process, this preparation being necessary to avoid future mistakes.
Cleaning Dust and Dirt
Dust, small hairs, or finger marks on the coin surface can trick the computer program into thinking they are damaged or worn, leading to a wrong and lower grade, so you must never use water or rough cleaning materials, remembering this is very important.
You should only use a soft air bulb to blow away the loose dust and small hairs from all parts of the coin, or use a very soft brush to move the static dust from the flat parts, pushing very lightly to not touch the metal, always holding the coin with clean cotton or rubber gloves to stop finger marks and oil from getting on the surface.
Background Rules
The background color must be very different from the coin color, but it should not have many lines or bumps, this simple background helping the computer program easily separate the coin from the back part.
It is best to use one plain, dull color like black, white, or gray, choosing black for light metals like silver and white for dark metals like copper or bronze, ensuring the background surface is completely flat without any shine or pattern, stopping problems when the computer checks the edge of the coin.
Camera Settings and Equipment
The tools you use must be able to take very clear pictures and let you change the light settings yourself, this manual control ensures you get the best possible quality.
Camera
You need to use the highest picture size your camera can make, making the smallest picture size at least 4000 by 3000 pixels, helping the computer see details.
Keeping the Camera Still
The camera must stay completely still, this lack of movement being necessary to get a very sharp picture and avoid any bad shapes.
You should use a rigid, sturdy tripod that holds the camera lens vertically down so that the lens looks exactly at the coin at the right angle and no part of the picture is distorted.
To take the photo without touching the camera and making it shake, you should use the two-second timer or a small remote control.
Managing the Light
The light is the most important thing because it shows the bumps and the surface feel, which are the main things the computer checks for grading, so you need spread-out and directed light.
The Idea of Soft Light
You must not use one strong, straight light because it makes hard black shadows and very bright white spots, these bright spots being bad for seeing the surface clearly.
All the lights you use must have a soft cover, like a thin white paper or cloth, spreading the light out, this soft light making the shadows gentle, helping the computer program see the round shapes of the coin's design correctly.
Side Light for Details
To clearly show small design details, lines, signs of use, and the metal's shine, you need a light coming from the side.
To clearly see the fine details of the design, lines, traces of use and the shine of metal, you need a side light.
It is best to use two separate light sources, placing them at an angle of 45-60 degrees to a flat coin.
You must not take the picture with the light shining straight from the front, this mistake completely hiding the shape of the design, making the computer unable to grade the coin correctly.

Stopping Shiny Spots
Shiny spots on the metal are the biggest cause of errors when checking the coin surface, making the computer program unable to see the true patina and surface texture.
You should put a special glass filter, called a CPL filter, on your camera lens, turning the filter until the bright white spots from the metal surface disappear, allowing the computer to see the coin's real color and surface feel.
Taking the Photo
This part of the process needs you to follow exact rules for the coin's position and the picture's brightness.
Straight Angle
It is extremely important that the camera's lens is perfectly straight and parallel to the coin's flat surface, checking this straight angle with a small level tool to make sure the picture is correct, preventing the coin from looking squeezed or not round, this bad shape possibly moving small details.
The coin must take up at least 80% of the picture's space, ensuring the computer program has enough information for every small part of the coin.
The picture must be completely sharp everywhere, covering all parts of the coin's design, from the highest point to the lowest flat metal.
It must be correctly bright, keeping the details in both the light and dark parts, never letting the brightest parts of the design become pure white, which means losing important information about the surface feel — set the brightness so the light graph on the camera stays away from the far right end, using the smallest possible ISO number, such as ISO 100 or 200, stopping the picture from having digital noise that the computer program might mistake for scratches on the coin.